First login and initial setup
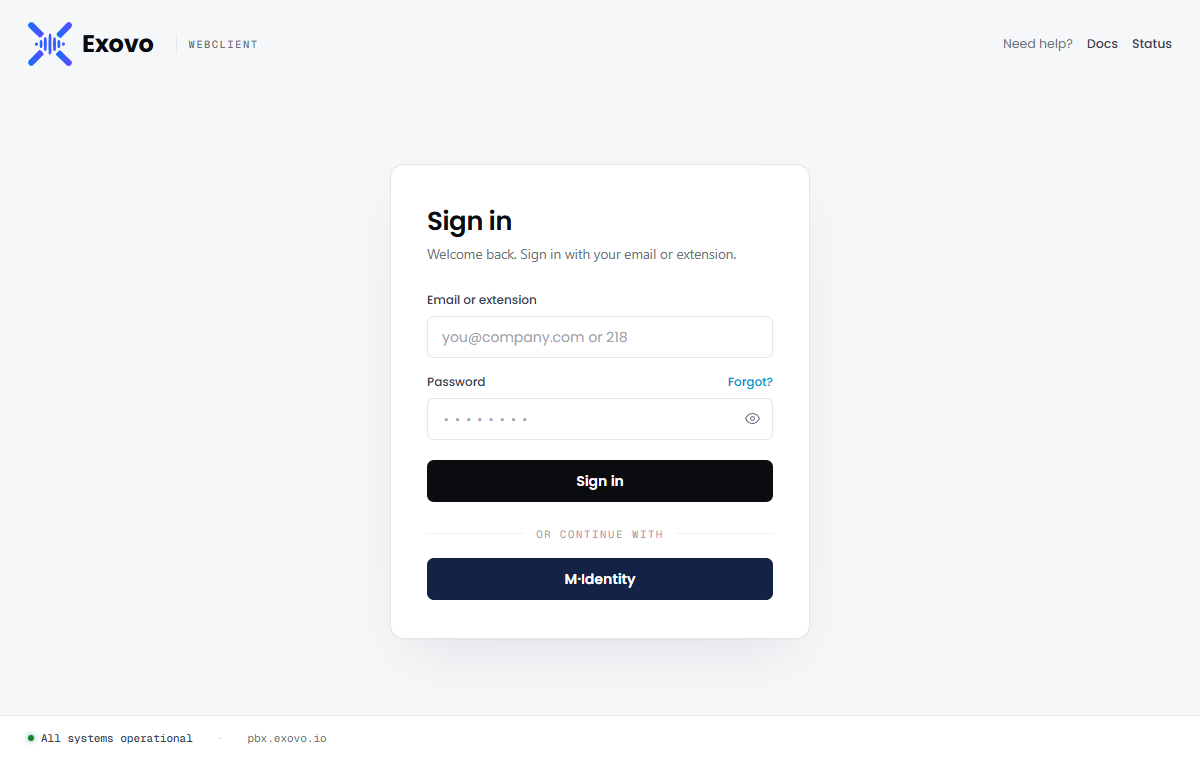
With installation finished, browse to https://<your-fqdn>
and sign in with the administrator email and password you set in the onboarding wizard. Users can
sign in with either their email address or their extension number; if you've connected a
single-sign-on provider, its button appears below the form.
Getting oriented
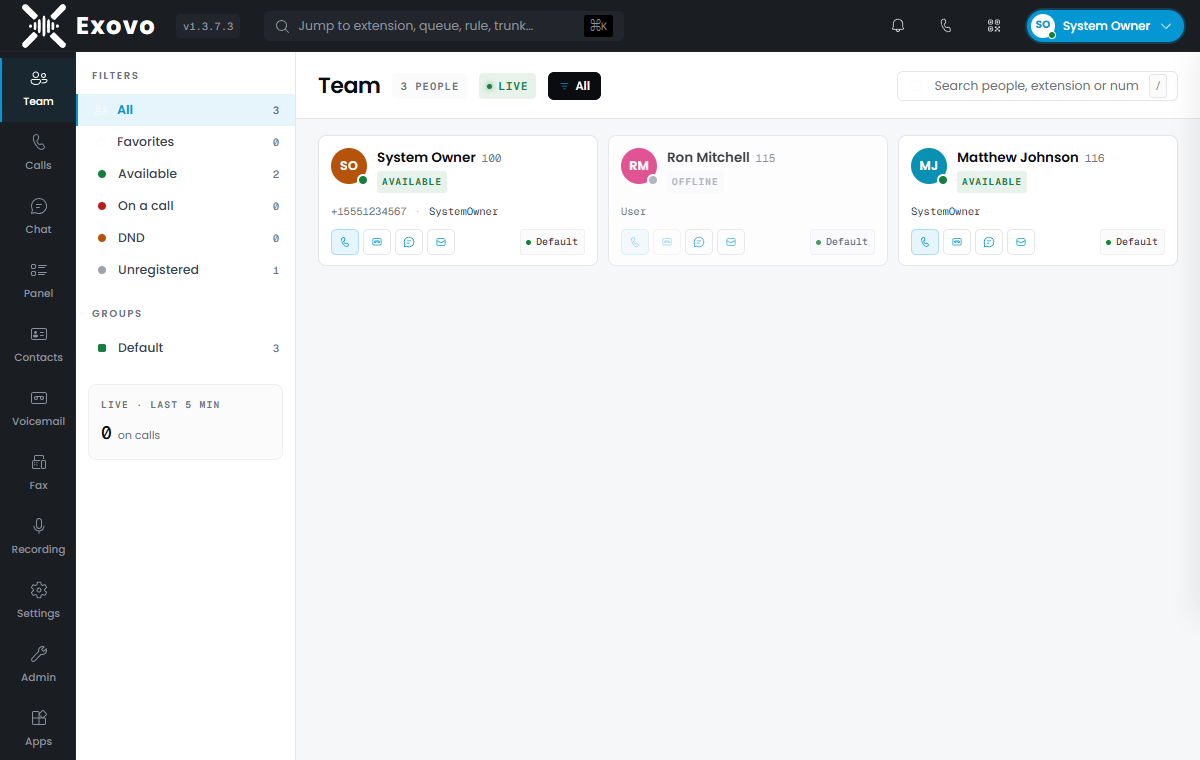
You land on the Team view — the live presence board. Every user on the system appears as a card showing their status (available, on a call, DND, unregistered), with one-click actions to call, chat or leave a voicemail. Star a card to add that colleague to your Favorites — a filter at the top of the board that narrows to the people you work with most, saved per user. The left rail is the whole client: Team, Calls, Chat, Panel (the operator view), Contacts, Voicemail, Fax, Recording, Settings — and, for administrators, Admin.
Everything below happens under Admin, which opens on the system dashboard:
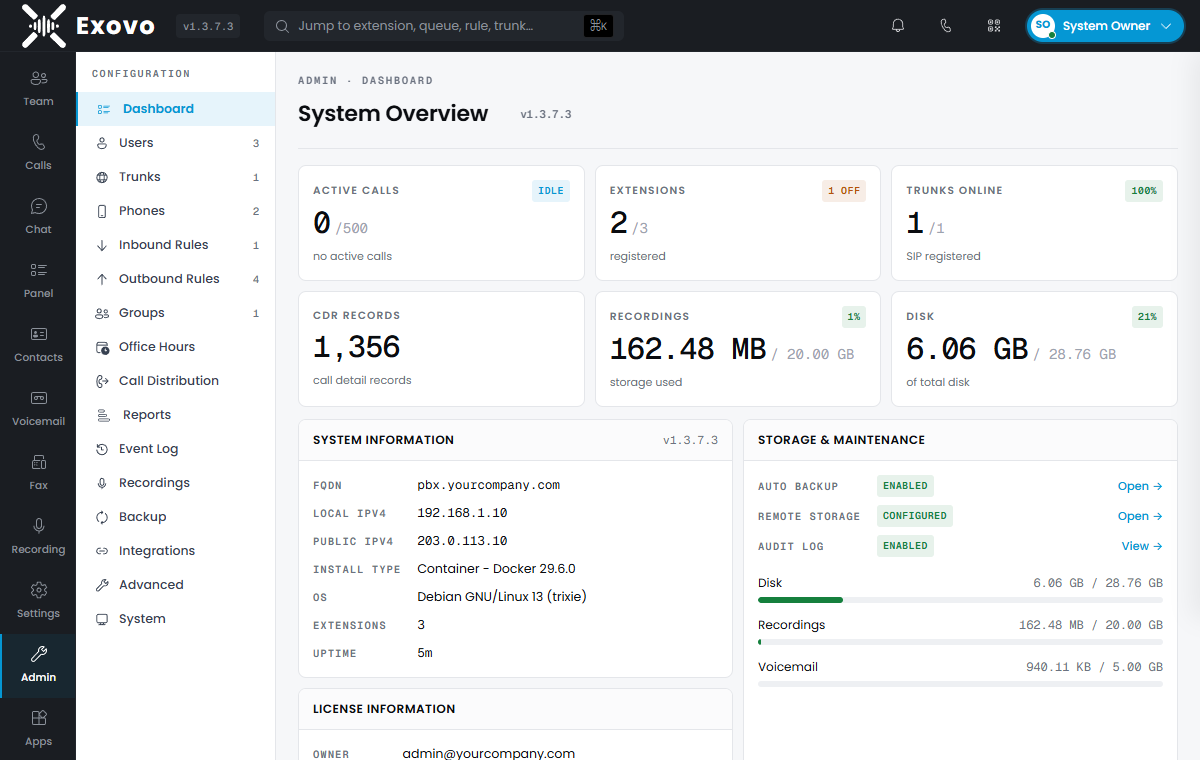
The dashboard is worth a bookmark — active calls, extension registration, trunk health, disk and recording usage, license status and backup state at a glance.
1. Create your users
Admin → Users lists every extension. Click Add User, give them a name, email and extension number, and save — that's enough for them to sign in to the web client and make calls from the browser. Each user's page also carries their SIP credentials (for desk phones and apps), voicemail settings, forwarding rules and role.
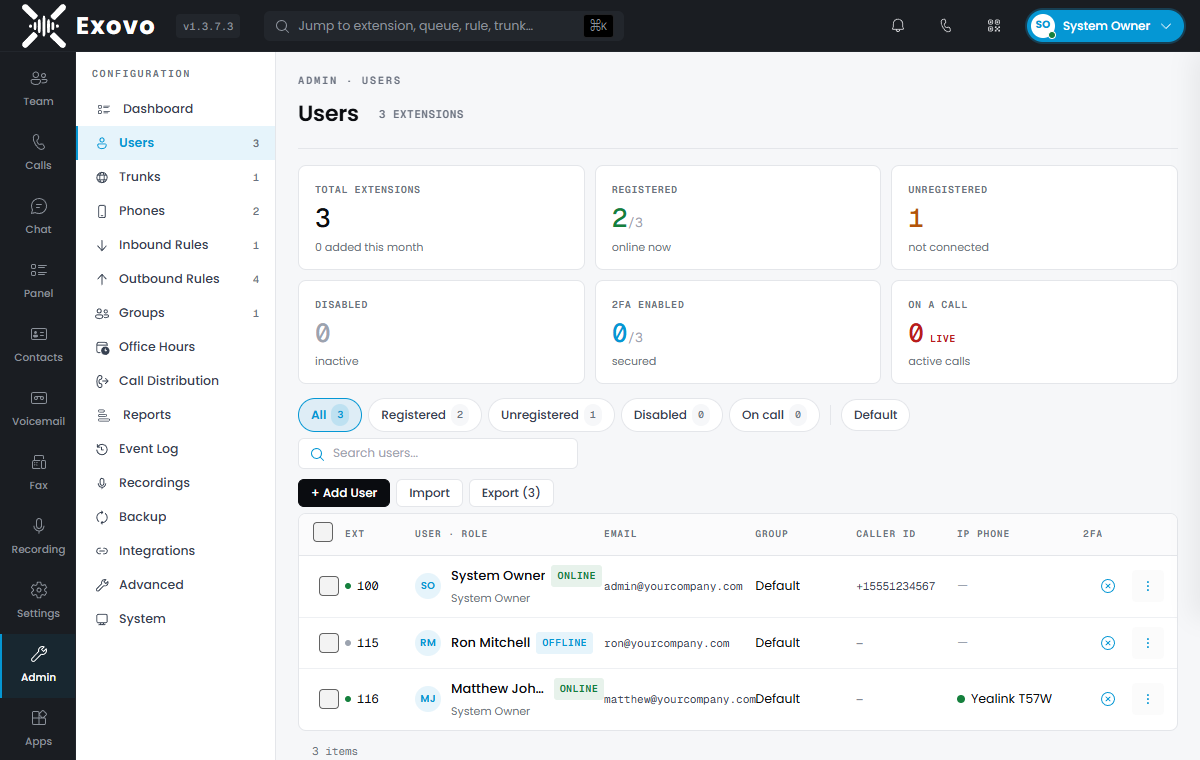
Bulk-importing an existing phone list? Use Import on the same page.
2. Add a SIP trunk
External calling needs a trunk. Admin → Trunks → Add trunk and pick your provider from the template list — the template pre-fills the registrar, transport and DID handling, so typically all you enter is the account credentials and your numbers. Registration state shows live on the trunk list; a green Registered means the provider accepted you.
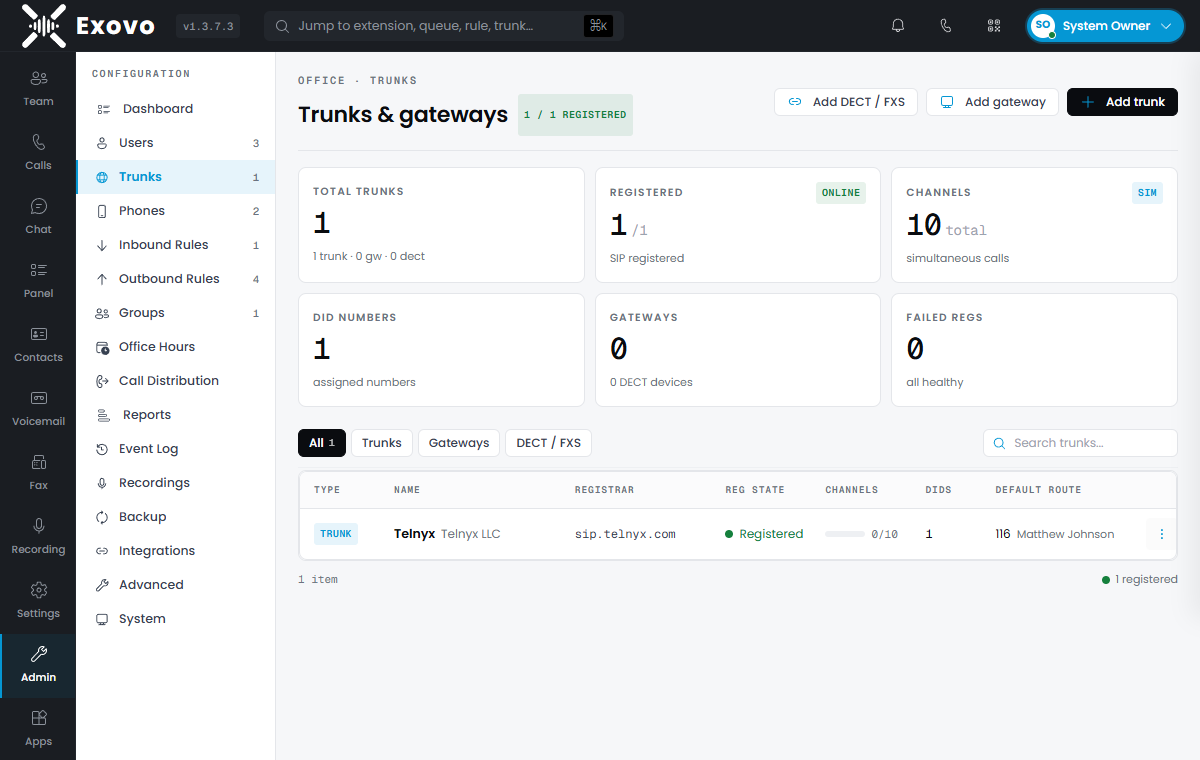
Each trunk gets a default route — where inbound calls land before you build out proper inbound rules. Point it at yourself while testing.
3. Verify the host IP address
Important: before putting desk phones on the system, open Admin → Connectivity → Network and check the Host IP Address. This must be the server's LAN address — the IP local phones reach the PBX at. Phone provisioning and in-call operations from LAN phones (hold, transfer) depend on it: if it's wrong, phones may provision against an unreachable address or drop mid-call actions.
The field is detected automatically from the server's default network route during deployment and pre-filled on first visit — on a server with a single network card the detected value is almost always right, but it still has to be saved once to take effect. If the server has multiple network cards (or the phones live on a different subnet than the default route), enter the correct address manually. Saving a value here always overrides the detected one.
4. Make the first call
- Browser first: from the Team view, click the phone icon on your own card's neighbours, or dial an external number from Calls. Browser calling uses the media relay set up during installation — no extra configuration.
- Then a desk phone: supported phones provision themselves — see phone provisioning. Point the phone at the PBX, assign it to a user, and it pulls its configuration.
- Then inbound: call one of your DIDs from a mobile. It should land on the trunk's default route.
Recommended before going live
- Turn on 2FA for administrator accounts — set it up under Settings → Security, or Require it for admins from Admin → Users (the Users list shows who has it). See two-factor authentication.
- Set office hours (Admin → Office Hours) so after-hours routing behaves from day one.
- Build inbound rules per DID instead of leaning on the trunk default route.
- Check the backup schedule (Admin → Backup) — automatic backups are enabled by default; point them at remote storage.
- Review the security defaults against the hardening checklist — anti-hacking protection is on by default, but the allowed-country-code list is worth tailoring.
Next: updating Exovo and the architecture overview.